
Creamy Maple Bacon Cheese Dip Bliss 🧀🥓🍁
1. Introduction
If you’re searching for a delectable bacon cheese dip that combines sweet, savory, and cheesy flavors, you’ve come to the right place. This maple bacon cheese dip, also known as a savory bacon cheese spread, is an irresistible party appetizer and snack that’s simple to prepare and sure to impress your guests. Whether you’re hosting a game day gathering or a cozy night in, this dip offers a perfect balance of crispy bacon, rich cheese, and a touch of maple sweetness. Dive into our easy recipe and enjoy a burst of flavor with every spoonful!
2. Ingredients for this delicious bacon cheese dip
- 8 slices of crispy bacon, cooked and crumbled
- 1 cup of shredded sharp cheddar cheese
- 1 cup of cream cheese, softened
- 1/4 cup of pure maple syrup
- 1/2 cup of sour cream
- 2 tablespoons of mayonnaise
- 2 teaspoons of Dijon mustard
- 1/4 teaspoon of black pepper
- Optional garnishes: chopped green onions or additional crispy bacon
3. How to make the ultimate savory bacon cheese spread
Step 1: Prepare the bacon
Cook the bacon slices until crispy. Drain on paper towels and crumble into small pieces. For a shortcut, you can use pre-cooked bacon bits. This step adds the signature crunch and smoky flavor to the dip.
Step 2: Mix the creamy base
In a large mixing bowl, combine the softened cream cheese, sour cream, and mayonnaise. Whisk until smooth and creamy. This creates the rich, velvety texture characteristic of a good cheese dip.
Step 3: Incorporate the flavors
Add the shredded cheddar, Dijon mustard, and black pepper to the creamy mixture. Stir well to evenly distribute the cheese and seasonings. Then, gently fold in the maple syrup, giving the dip a subtle sweetness that perfectly balances the savory bacon.
Step 4: Add the bacon
Fold in the crumbled bacon pieces, ensuring they are evenly dispersed throughout the dip. Save a small amount of bacon for garnish if desired.
Step 5: Chill and serve
Transfer the dip into an airtight container and refrigerate for at least 30 minutes to allow the flavors to meld. Before serving, top with extra bacon bits or chopped green onions for added texture and color.
4. Tips for the perfect bacon cheese dip
- Use fresh, high-quality ingredients for the best flavor.
- Adjust the maple syrup quantity to suit your sweetness preference.
- Serve this creamy bacon cheese spread with tortilla chips, sliced baguette, or vegetable sticks.
- Make it in advance for easy entertaining — it keeps well in the refrigerator for up to 2 days.
5. Storage and reheating tips
Store leftovers in an airtight container in the refrigerator for up to 2 days. To reheat, briefly microwave or gently warm in a saucepan over low heat, stirring occasionally. Keep in mind that reheated cheese dips may slightly alter in texture, so serve promptly for the best experience.
6. Serving suggestions for your savory bacon cheese spread
- Pair with crispy potato chips or sliced baguette for a crunchy contrast.
- Use as a topping for baked potatoes or grilled vegetables.
- Spread inside a warm crepe or quesadilla for an indulgent twist.
- Offer alongside a fresh vegetable platter for a well-rounded appetizer.
7. Kitchen tools that you might need for this recipe
- Compact 6-in-1 Digital Air Fryer — Perfect for crispy bacon with less oil and easy cleanup, elevating your bacon game.
- T-fal 14-Piece Hard Anodized Nonstick Cookware Set — Make cooking and crumbling bacon a breeze with durable non-stick pans.
- Ninja Foodi Smart XL Indoor Grill & Air Fryer Combo — A versatile appliance for next-level bacon cooking and more.
- KitchenAid Artisan 5-Quart Stand Mixer — Easily mix your cheese spread ingredients to an ultra-smooth consistency.
8. FAQ about this irresistible bacon cheese dip
Can I use turkey bacon instead of pork bacon?
Yes, turkey bacon works well as a healthier alternative and still delivers a good smoky flavor. Cook until crispy and crumble as usual.
Is this dip suitable for keto or low-carb diets?
This bacon cheese spread is low in carbs and high in fat, making it a great choice for keto or low-carb diets. Just ensure to check the labels for any added sugars or fillers.
How long does it take to prepare?
The entire process takes approximately 20-30 minutes, including cooking the bacon and mixing the ingredients. Chilling the dip enhances flavor but isn’t mandatory.
Can I make this ahead of time?
Absolutely! Prepare the dip ahead of time and refrigerate for up to 2 days. It allows the flavors to deepen and makes entertaining easier.
9. Conclusion
This creamy maple bacon cheese dip bliss offers a luscious, savory experience perfect for parties, game day, or just treating yourself. Its combination of crispy bacon, melty cheese, and a touch of maple sweetness creates a truly irresistible savory bacon cheese spread. With simple ingredients and straightforward steps, you’ll be serving up a crowd-pleasing appetizer in no time. Enjoy this delightful dip with your favorite dippables or as a topping on your favorite comfort foods. Happy cooking!
Print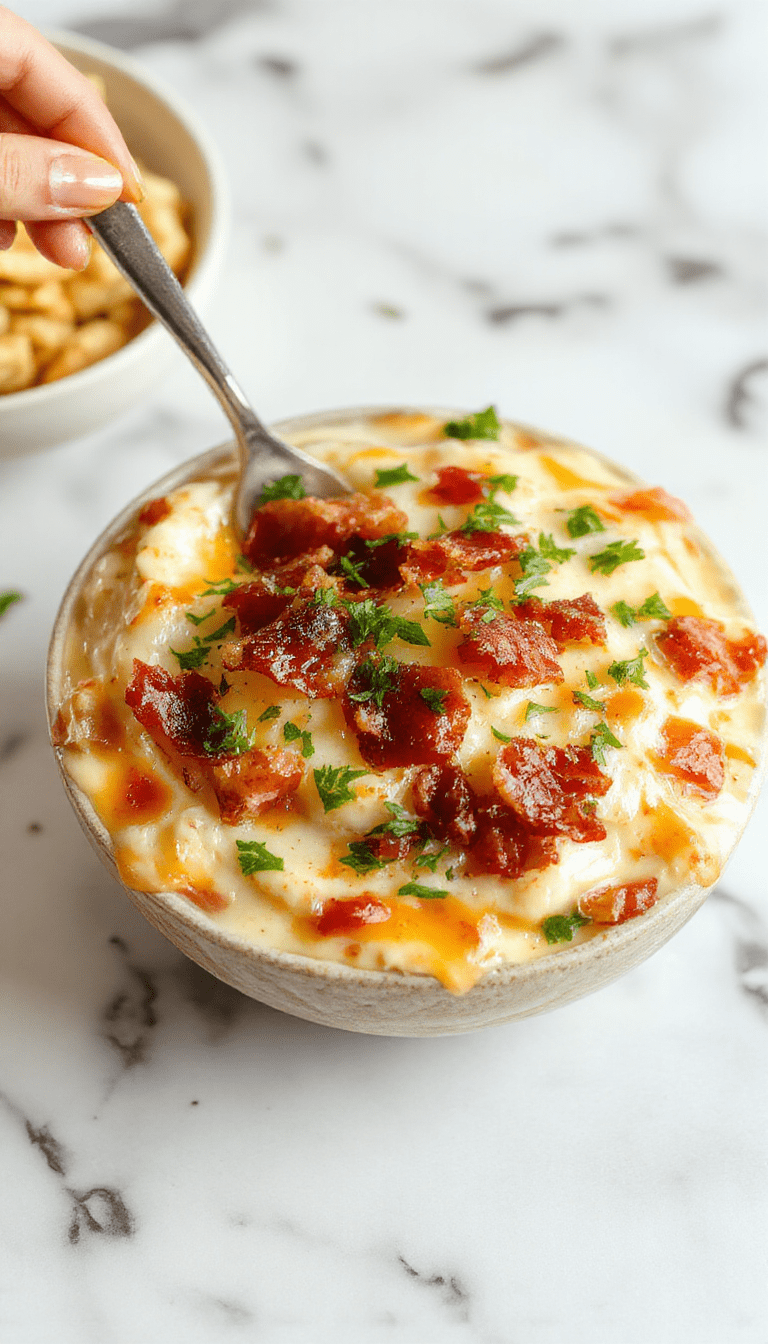
Creamy Maple Bacon Cheese Dip Bliss
A rich and creamy cheese dip blended with crispy bacon and a hint of sweet maple syrup, ideal for sharing at parties or enjoying as a snack.
- Total Time: 10 minutes
- Yield: 4-6 servings
Ingredients
- 8 oz cream cheese, softened
- 1 cup shredded cheddar cheese
- 4 slices cooked bacon, chopped
- 3 tbsp maple syrup
- 1/2 cup sour cream
- 1/4 tsp black pepper
- 1/4 tsp garlic powder
Instructions
- In a mixing bowl, combine softened cream cheese, sour cream, garlic powder, and black pepper until smooth.
- Stir in shredded cheddar cheese.
- Fold in chopped crispy bacon.
- Drizzle with maple syrup and mix well.
- Serve immediately with chips, veggies, or bread.
Notes
- For extra flavor, add chopped chives or green onions.
- Can be refrigerated for up to 2 days before serving.
- Prep Time: 10 minutes
- Cook Time: 0 minutes
- Method: No-bake
- Cuisine: American
- Diet: Vegetarian
Nutrition
- Serving Size: 1/4 cup
- Calories: 180 Kcal
- Sugar: 4g
- Sodium: 320mg
- Fat: 14g
- Saturated Fat: 7g
- Unsaturated Fat: 6g
- Trans Fat: 0g
- Carbohydrates: 6g
- Fiber: 0.5g
- Protein: 8g
- Cholesterol: 50mg